Captain Rampage Prop Development - Spyglass Texturing & Renders

General / 22 February 2020

For the hand-painted texture, I started by looking at how I would achieve the right aesthetic before adding colours and any extra details. I used a basic layer, filled with a dark brown colour to start, before adding brush strokes of several lighter colours. I used a block brush for all of this, changing some basic details of the brush to achieve the right feel that I wanted. I also added some tonal and hue variation. It is important to show the brush strokes to keep the hand-painted aesthetic, so I made sure not to blend or blur the strokes together. 

With this finished, I added the base colours to the texture, adding the texture underneath and using layer filters to get the colour right while still keeping the hand-painted aesthetic. I I also adjusted the base texture so that the stokes followed the UVs in the right direction as it would not look right in Substance Painter otherwise. In Substance Painter, I was able to see the texture on the model and see what I needed to do to make the texture better. I also imported the curvature map and added the occlusion map in Photoshop, using the necessary layer filters to make it fit the texture.

In Substance Painter, I added the right materials to add metallic and roughness to the model. I also found that the model was too dark still, and that the texture needed to be brighter. To fix this issue, I added a white layer on Photoshop and reduced the opacity so that it slightly brightened the texture. This worked well as it made the colours more vibrant without washing out the colours.


  Marmoset Viewer:

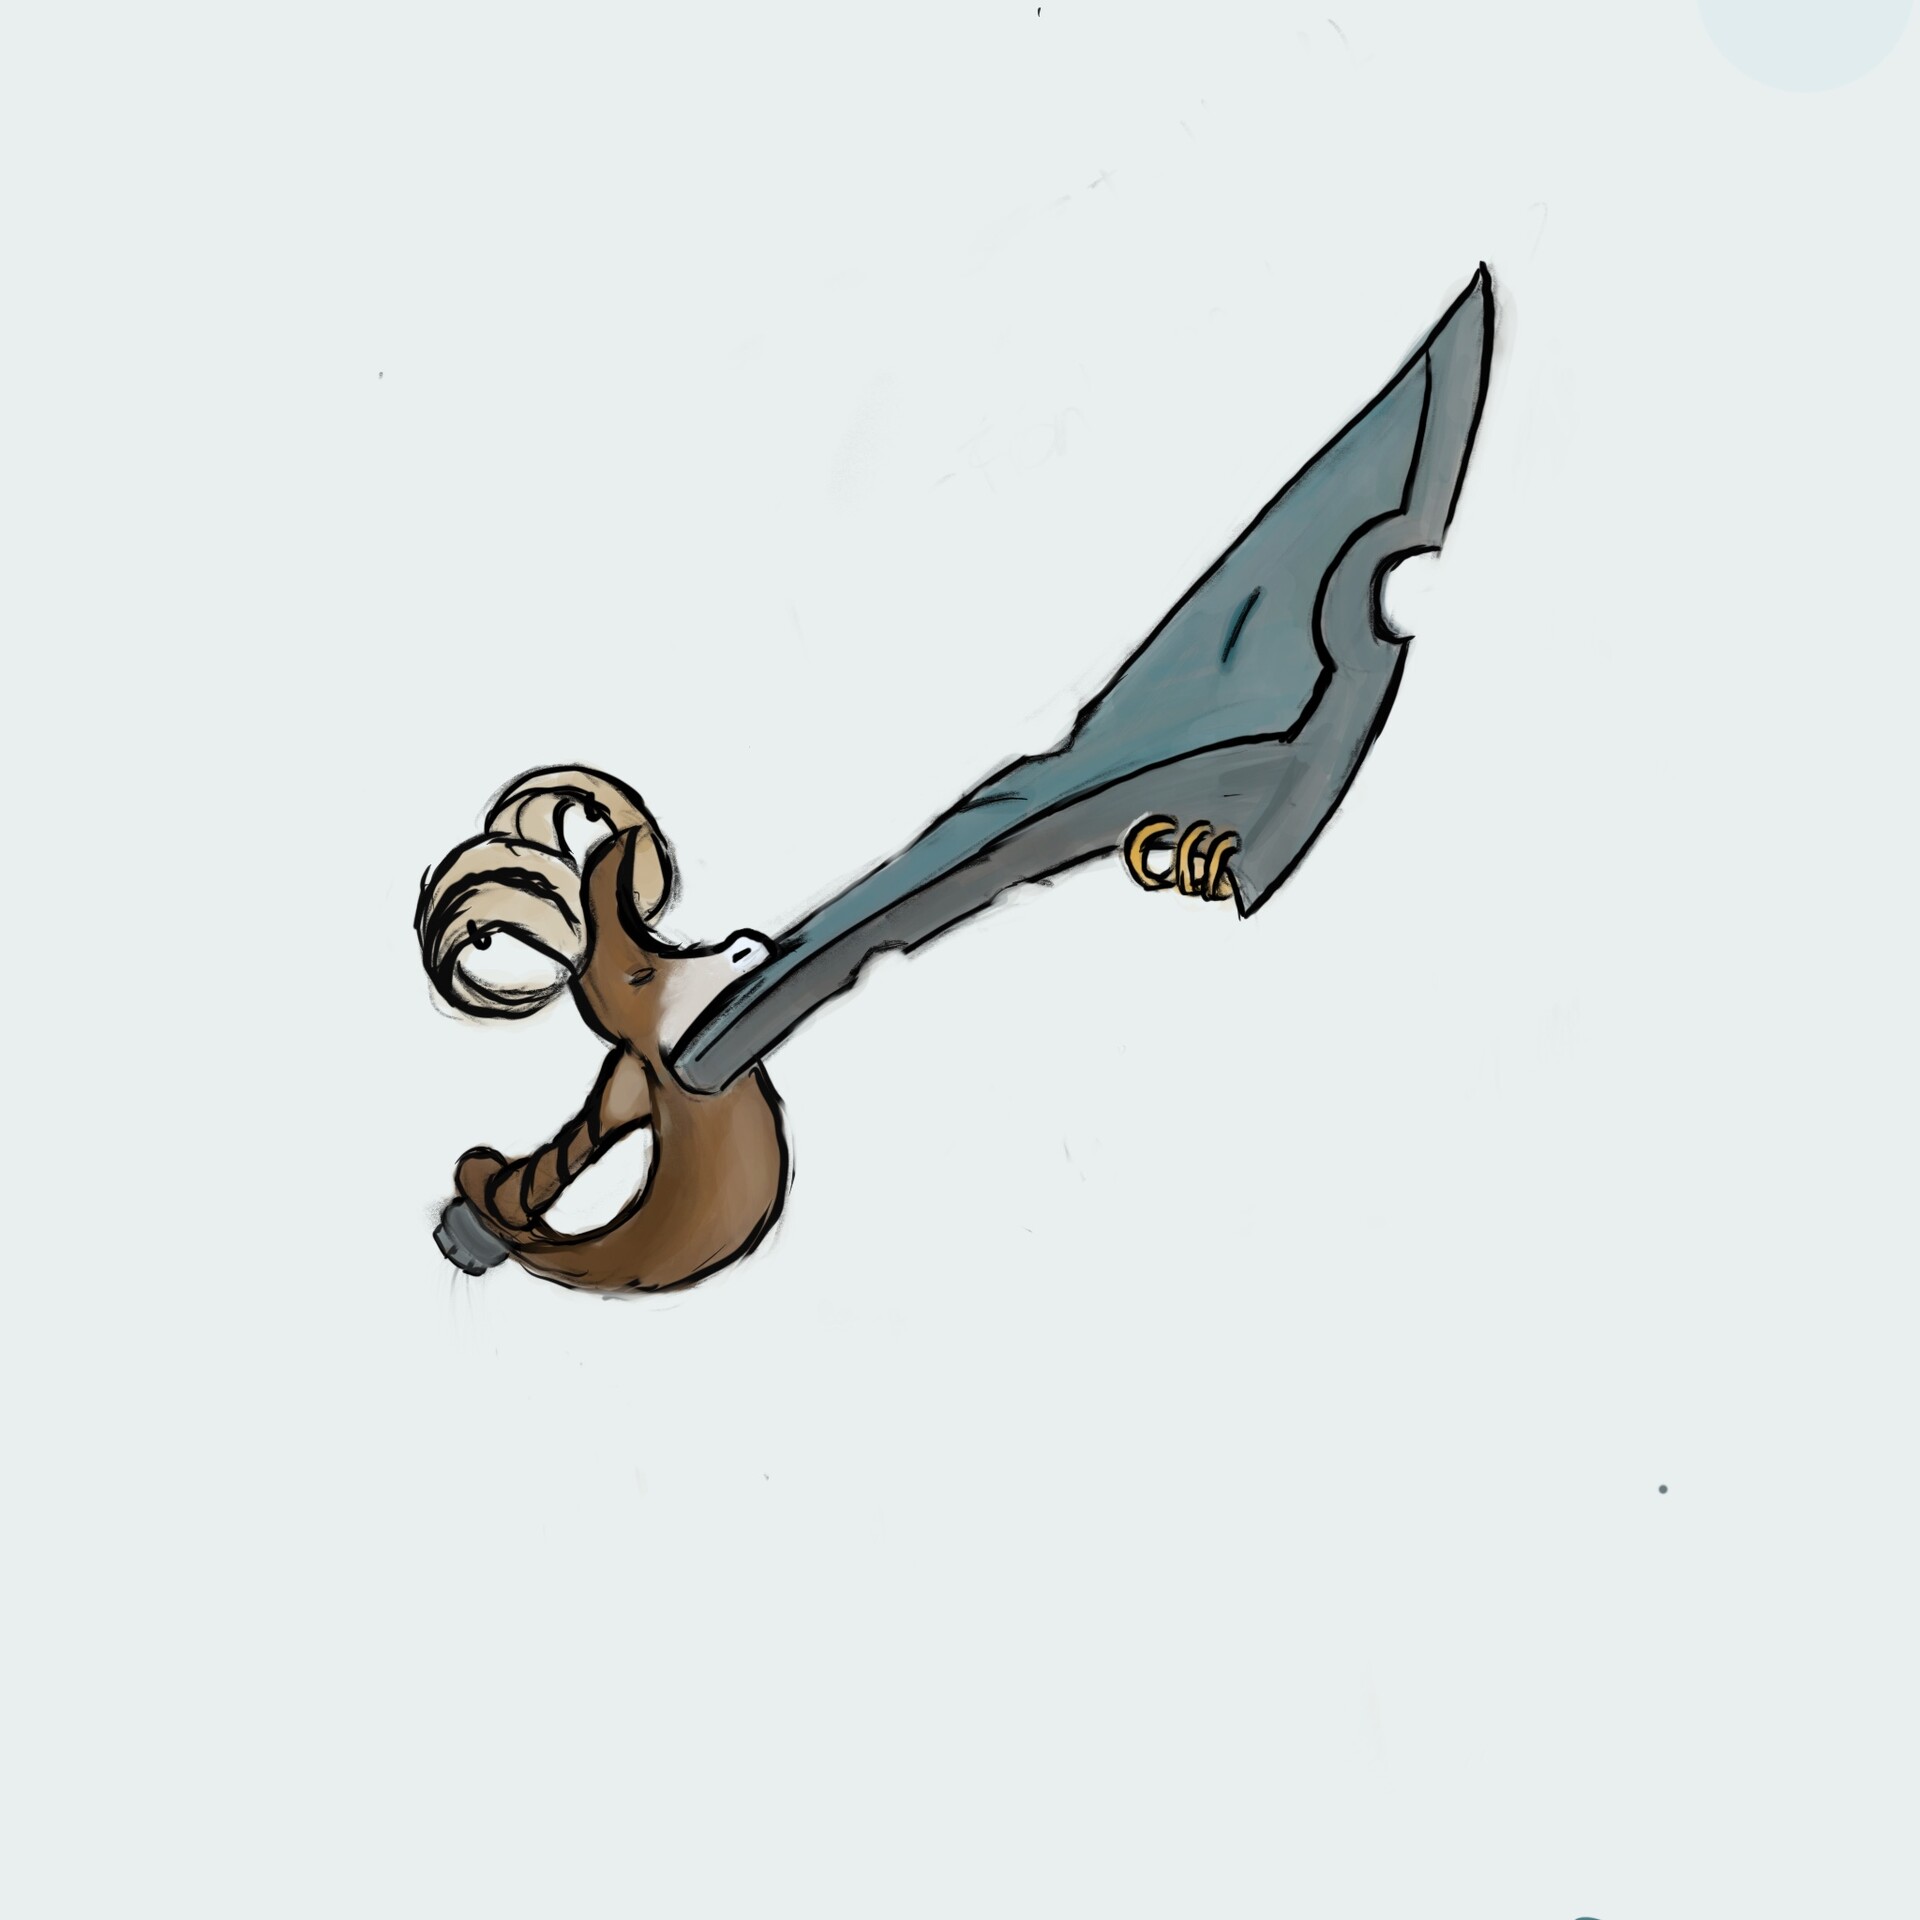
Next I plan to make the cutlass and the gun that I am designing, before making any improvements to Captain Rampage and fit the art style of Sea of Thieves better. All feedback is welcome :)

Big thanks to Matt Wilkins from Rare for making this breakdown which has helped me so much with making the texture. His breaksown guide can be found here: https://www.artstation.com/artwork/Ka6R8G :)

Prop Development - Captain Rampage's Spyglass

General / 19 February 2020

So for this project, I wanted to create some props that will help develop Captain Rampage better, which will also be used in the final render images with the base and local environment. One prop that I am developing will be his spyglass, that I have already designed and that will help me further replicate the handpainted, vibrant, cartoonish art style that Sea of Thieves uses.

I made the base model in Maya, suing bevels on the edges to make the mesh smooth and clean. I started by making the shaft, extruding out the end, and the middle. I made the glass pieces at each end separate to the rest of the mesh, and I adjusted them so that the larger end is convex and the smaller end is concave. 

With the base mesh completed, I used Zbrush to sculpt the details in, including weathered edges, chips and scratches in the mesh. I used several brushes such as hPolish, TrimDynamic and Orb_FlattenEdge_Protect, among others. These brushes helped me achieve the clean look with the weathering. I also used the Orb_Slash brushes to add chips and scratch marks along the spyglass.

I intended for the end piece to have a stone like look to it, while the rest of it was going to be metal / wood.


Now with the texture maps baked, I am going to create the main textures, and use Substance Painter to get the PBR look that I am intending. I aim to create a cutlass for him, as well as rig the character when he is fully completed and finalised.

Captain Rampage - Character Renders - First Look

General / 13 February 2020

So with Captain Rampage's low poly unwrapped and baked, I proceeded to use Photoshop and Substance Painter to make the textures. I originally combined several of the maps together to assist in building the gradient that the textures will use. In Photoshop, it gave me an opportunity to fix any issues with the maps, such as overlaps, etc. 

To make the base colour, I used the gradient map tool to create gradients for the colours. This gave the texture a light to dark progression, which I used to help focus on certain areas. I used earthy colours for most of the character, such as browns and greens, as I felt that this would fit the character's nature better. Another reason I chose these colours was that they complemented each other and I wanted to keep it colourful and fun. With the main gradients, I felt that it wasn't bright enough so I added a slight extra highlight to some areas such as the brooch and the coat, while also darkening some areas.

With this finished, I added the necessary materials in Substance Painter to make the character have PBR textures. This included adding different types of leather for the boots and coat, cotton for the shirt, etc. I also adjusted several settings to get the desired look.

With the textures done, I exported using the PBR SpecGloss setting and imported the model and textures into Marmoset Toolbag to render.

Render images here:

I am working on the spyglass now, with plans to model a cutlass as well for him as well as a small base. I intend for the base to be the entrance to a cave, with Captain Rampage exiting, with a wooden lantern and some rocks as well as a grassy overlook. I will fully design the concept for the base. In the meantime, I am welcome to any feedback that will help me improve Captain Rampage.

Captain Rampage - Designing and Defining

General / 16 December 2019

So it's been hard to find inspiration or ideas for a new character to design and make, but I've been doing some drawing and finally got some new ideas for a character. Over the last few nights, I've been converting some prop drawings from my sketchbook into Procreate for the iPad. These drawings have helped me start to get an idea for my next character, a half-human, half-ram pirate, as well as show my thought process. This character will be stylised, as I want to make something that looks fun. For this character, I designed a series of props and potential weapons to help define him while I sculpt the character's body.

I designed a series of cutlasses as I couldn't find the right style and look for him. While I wanted the cutlass to look intimidating, I wanted a sense of intrigue and focus on the animal look of the ram. At the same time, I also designed some details for his clothing that I am considering such as the belt buckle, chain and armband.

First piece drawn in Procreate which helped define and get a proper sense of what I am creating.

Inside Procreate, I designed a few other props and details for the character, which could also be added on top of the basic look. When it comes to the additional props, I designed a telescope that would serve as a central prop to his character, which involves a relic that attaches to the end which acts like a mystic tool. When looking at colour palettes, I initially looked at red or blue as a main colour but realised that both colours are really cliche and overused. As green is an earthly colour, I could use this colour for him as it isn't as cliche and fits the animal look as well.